Aug
Church Sound, How To Guides
The Complete Guide to Live Recording with a Digital Mixer
In the modern world of music and live sound, digital mixers have become an indispensable tool. They offer unparalleled flexibility, powerful processing, and, most importantly, the ability to effortlessly capture a live performance. Whether you’re a seasoned sound engineer or a budding musician looking to document your band’s gigs, this comprehensive guide will walk you through the process of doing a live recording with a digital mixer.
1. The Essential Gear
Before you even start, you need to have the right tools for the job. Here’s a checklist of what you’ll need:
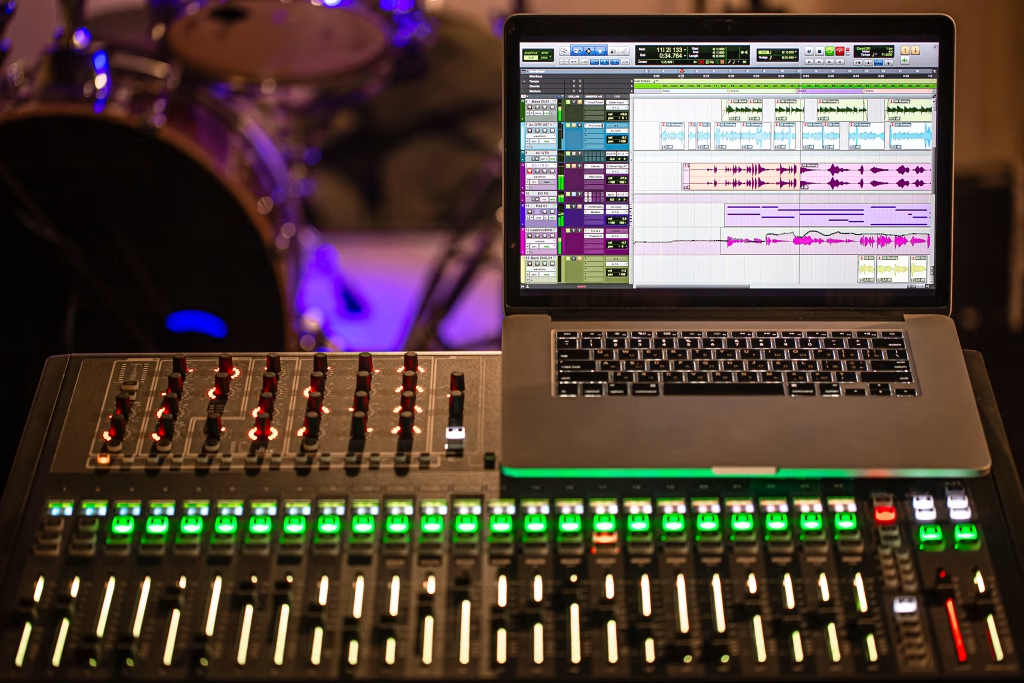
- Digital Mixer: The heart of your setup. Make sure your mixer has multi-track recording capabilities. Many modern digital mixers, from brands like Behringer, Midas, and Allen & Heath, have built-in audio interfaces or dedicated expansion cards for this purpose.
- Computer: A laptop or desktop computer with a decent processor and ample storage space. You’ll need it to run your Digital Audio Workstation (DAW) and store your recordings.
- Digital Audio Workstation (DAW): This is the software you’ll use to record and edit your audio. Popular DAWs include Pro Tools, Logic Pro X, Ableton Live, and Reaper.
- USB Cable or Ethernet Cable: The type of cable you need will depend on your mixer’s connectivity. Most mixers use a USB-B cable, while some professional-grade mixers use Ethernet or proprietary connections.
- Headphones or Studio Monitors: Essential for monitoring your recording and ensuring everything sounds right.
2. The Connection
Once you have your gear, the next step is to connect everything. The process is surprisingly straightforward.
- Connect the Mixer to the Computer: Use the appropriate cable (USB or Ethernet) to connect your digital mixer to your computer.
- Install Drivers: If your mixer requires a specific driver, make sure you install it on your computer. You can usually find the drivers on the manufacturer’s website.
- Configure the DAW: Open your DAW and go to the audio settings. Select your digital mixer as the audio interface for both input and output.
3. The Setup
This is where the magic happens. A good setup is crucial for a successful recording.
- Arm the Tracks: In your DAW, create a new track for each channel you want to record. Arm each track for recording by clicking the “record-enable” button.
- Check the Levels: Do a soundcheck and adjust the gain on your mixer for each input. Ensure the levels are healthy but not clipping. You should aim for a signal that’s in the green to yellow range on your DAW’s meters.
- Set Up a Headphone Mix: Create a separate mix for your headphones so you can hear what’s being recorded. This is essential for monitoring and catching any problems.
4. The Recording
With everything set up, you’re ready to hit “record.”
- Communicate with the Band: Let the band know you’re recording. Count them in and let the show begin!
- Monitor Constantly: During the performance, keep a close eye on your DAW’s meters and listen carefully to the headphone mix. If you see any red, it means a channel is clipping, and you need to bring the level down on your mixer.
- Take Notes: If you can, take notes of any special moments or problems that occur during the performance. This will be helpful during the editing and mixing process.
5. The Post-Production
After the show, the fun continues with post-production.
- Trim and Edit: Go through the recorded tracks and trim any unwanted sections.
- Mix and Master: Use your DAW’s tools to mix the tracks. This is where you can adjust levels, add EQ, compression, and effects to make your recording sound polished and professional.
- Export and Share: Once you’re happy with the mix, export the final song or album as a high-quality audio file (WAV or FLAC).
Troubleshooting Common Issues
- No Signal: If you’re not getting a signal in your DAW, double-check that your mixer is selected as the input device and that the tracks are armed for recording.
- Latency: If you’re experiencing a delay between your performance and what you hear in your headphones, try reducing the buffer size in your DAW’s settings.
- Distortion: If your recording is distorted, it’s likely due to a clipped signal. Go back and adjust the gain on your mixer’s input channels.
Live recording with a digital mixer is a powerful way to capture the energy and spontaneity of a live performance. By following these steps and being prepared, you can create a high-quality recording that you’ll be proud to share.
